This is an easy-to-follow tutorial guide on how you can create stickers on Kittl, upload them on Printify, and sell them on Shopify. There are some bonus instructions on how to add a domain and start a Shopify store.

Are you a creative spirit who dreams of turning your cute sticker designs into a profitable venture? You’re in for a treat! In this step-by-step tutorial, we’ll guide you through the entire process, from crafting irresistibly cute stickers on Kittl to seamlessly integrating Printify with Shopify to sell stickers. Let’s dive in and make your sticker-selling dreams a reality!
Read More About Printify:
*Disclosure: This post may contain affiliate links at no additional cost to you. I only recommend products I would use myself; all opinions expressed here are mine. In addition, I may earn a small commission.
Why Use Kittl to Create Stickers to Sell on Shopify?
Kittl is the most intuitive and easy-to-use design software to help you create stunning designs that impress everyone. Affordable to use. The affordable paid plans come with a commercial license.
In the expansive realm of design platforms, Kittl is a robust tool for crafting stickers that effortlessly captivate your audience. Here are compelling reasons why opting for Kittl can elevate your sticker-selling venture:
1. User-Friendly Interface:
Kittl boasts an intuitive and user-friendly interface, catering to seasoned designers and beginners. The platform’s drag-and-drop functionality enables you to bring your creative visions to life without requiring extensive design skills.
2. Versatility in Design:
Enjoy a diverse range of customization options with Kittl. From colors and shapes to text and effects, you can design stickers that align seamlessly with your brand and resonate with your target audience. The versatility of Kittl ensures that your stickers stand out in the competitive market.
3. High-Quality Output:
Your designs deserve the best showcase possible. Kittl allows you to export your creations in high-resolution formats, ensuring that the cuteness and details of your stickers are preserved when they reach your customers.
4. Cost-Effective Solution:
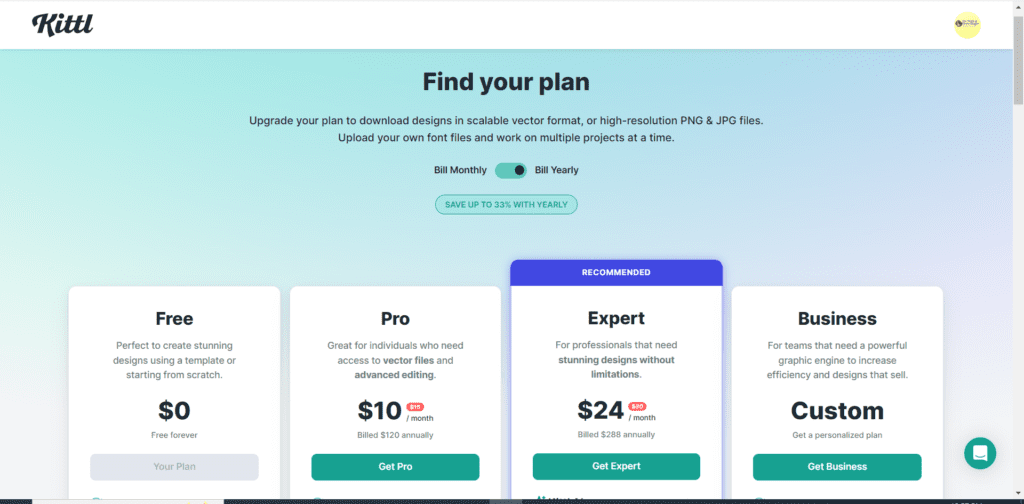
For entrepreneurs just starting, budget considerations are paramount. Kittl offers a range of pricing plans, including a free option with basic features. This cost-effective approach allows you to channel more resources into marketing and growing your sticker business.
5. Community and Inspiration:
Kittl fosters a vibrant community of designers. Engaging with this community provides inspiration for your designs and opens avenues for collaboration and networking. The exchange of ideas within the Kittl community can fuel your creativity and keep your sticker designs fresh and appealing.
6. Regular Updates and Features:
Kittl is committed to staying ahead in the design game. The platform regularly updates its features to provide users with cutting-edge tools. Using Kittl, you position yourself to take advantage of the latest design trends and technologies in the ever-evolving world of stickers and eCommerce.
Kittl emerges as a powerhouse for sticker design, offering a perfect blend of user-friendliness, versatility, and the assurance of high-quality output.
By leveraging Kittl’s features, you can create cute and eye-catching stickers and ensure a seamless journey from design to sale on your chosen eCommerce platform. It’s the winning combination for turning your passion into a profitable sticker-selling business.
Let’s get Started!
For this tutorial, I started a demo store on Shopify and created a demo product on Kittl using Kittl AI. Next, I uploaded it to Printify to create the sticker. Finally, I added that final product on Shopify.
How to Easily Design Stickers on Kittl
Step 1: Find Inspiration and Plan Your Designs
Before starting the creation process, immerse yourself in sticker trends to gather inspiration for your designs. Consider themes, styles, and colors that resonate with your target audience. Once inspired, sketch your ideas on paper or digitally to create a cohesive and eye-catching collection.
Create your account on Kittl if you haven’t already. Kittl is affordable and easy to use. Kittl is an alternative to Canva, except that with Kittle, you can have designs with a high quality of 300 dpi.
I used Chat GPT to get ideas using this prompt:

You can try to do the same to get inspirational ideas for your designs. Using a keyword research tool such as Ahrefs, SEMRush, or Everbee is always a good idea if you plan to sell on Etsy. Doing keyword research will validate whether or not your design idea is profitable.
Other affordable tools are alternatives to Ahrefs, such as Mangools and Ubersuggest.
Step 2: Design Your Stickers on Kittl
Head to Kittl and sign up for a free account to digitally bring your sketches to life. Kittl’s user-friendly interface offers various tools to experiment with colors, shapes, and sizes. Customize your designs to make them cute and uniquely reflective of your creative style.
I used Kittl’s AI to easily create designs using the prompts I got from Chat GPT. I just copied and pasted the prompts on Kittl’s AI prompt box in the upper left. See the image below.

Step 3: Export Your Designs
Once satisfied with your designs, export them in a high-resolution format using Kittl. Ensure your creations maintain their quality when downloading them.
To export, click the upper-right “download” button and select your format file. Choose PNG or JPEG.
Mind you, I use the free account on Kittl, and I found that you can remove the white background with a paid account. If you want to make the stickers without the white square, you will need to. You will see it later in the blog post.
However, I created the sticker as a demo to show you how easy it is to create and then add it to Printify and Shopify to sell your stickers.
Step 4: Set Up Your Shopify Store
Start your e-commerce business for FREE with Shopify, and when your trial ends, you can start for only $1 the first month. Sign up for a free trial (3 days) and your first month is $1. Then earn 1% for every sale as credits to use on your Shopify subscription. Make sales and have Shopify pay for itself! Terms apply
If you haven’t already, use Shopify’s best $1 deal for 1 month.
Read more: Shopify $1 for 1 Month: Start Your Online Store Today
Don’t forget to get a domain. I got my domain for $0.99 through Namecheap. Don’t forget to use the discount code: 99SPECIAL. If you have no idea about the business name for your store, you can go back to Chat GPT and ask it to give you some ideas for a store domain name.
Always verify if that domain is taken. To buy a domain for $0.99 on Namecheap, follow the instructions below:
Don’t forget your discount code: 99SPECIAL to use at checkout.

Sign up and follow Shopify’s guide to set up your store. Choose an enticing store name, select a theme that complements your designs, and configure your payment options.
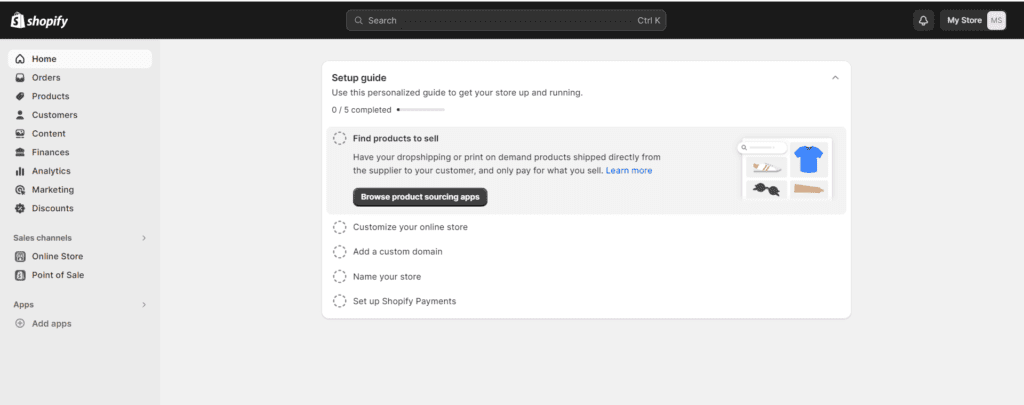
How do I create a Shopify store? Follow these simple instructions:
Enter your email address and click the “Start free trial” button to get started.
If you’re just starting out, select the first option. Or, if you’re already selling online or in person, select the second option. See the image below.
Read recent articles:
- How to Get 10,000 Blog Views a Month with Pinterest (Beginner’s Guide)
- How to Use a Small Business Planner to Stay on Track and Achieve Your Goals
- 10 Small Business Ideas with Low Startup Costs (Perfect for Beginners)
- How to Start Affiliate Marketing With No Money – Step by Step
- Funnel Freedom Review: Worth It or Overhyped?
Next, choose your business location. In my case, I chose the United States because that is where I am currently located.

Next, you will choose the type of business you want to start on Shopify. I chose “print-on-demand products” since I will sell my stickers using Printify.
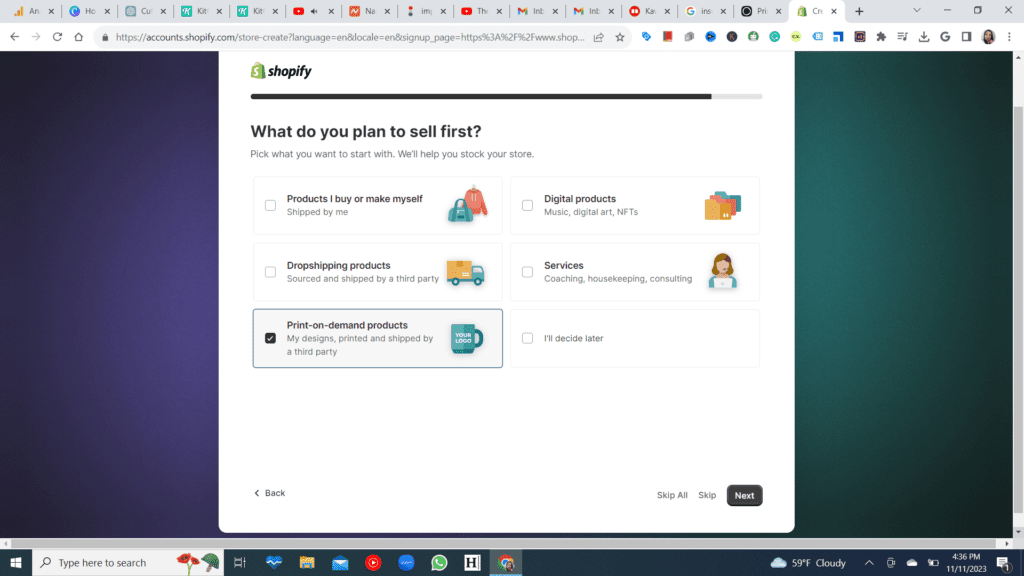
After this is done, you will enter all your business information.
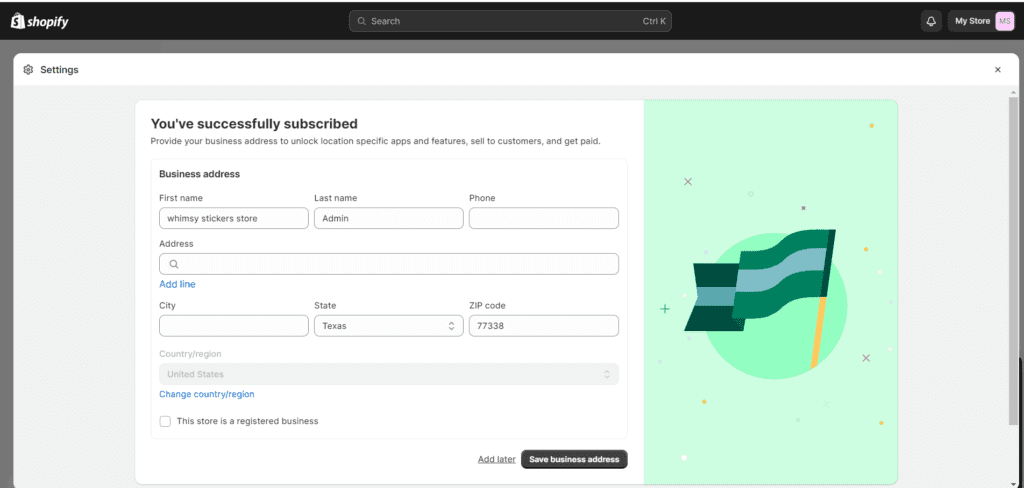
On Shopify, select the payment plan you want to use. Remember, Shopify has a great offer to start your eCommerce business for only $1 monthly for one month. After you select your price plan, you will enter your credit card payment information.
You will only pay $1 monthly for 1 month, and you can cancel at any time.

Before adding your products, you may want to connect the domain you bought, or if you prefer to get one from Shopify, that is fine, too. Remember, Namecheap offers domains for $.99. Use your special discount code at checkout: 99SPECIAL.
How to connect your NameCheap domain to Shopify:
After purchasing your domain on NameCheap, connecting it to Shopify is easy.
Log in to your NameCheap account and then go to the Domains List. Then, click on the Verify Contact menu and select Manage. See the image below.

Next, you will select Advance DNS and then on to “Choose DNS Template” select Shopify. It will automatically connect your domain to your Shopify Store.
I tried to do it manually on Shopify, which was a hassle. Maybe I wasn’t doing it right. I am not at all a techie.
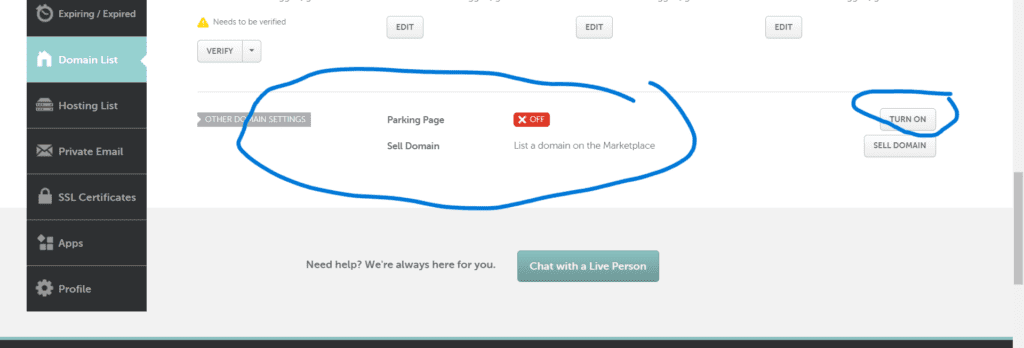
So, on Namecheap, I found a way to do it. You have to unlock your domain on Namecheap to connect it to Shopify.
To do this, on the Domain List Page, on the right side of the Verify Contact menu, on the scroll-down arrow, select “Manage”. It will take you to the “Domains” tab page.
Next, on the “Domains” tab page, you must scroll down to the bottom to find it.
Click the “Turn off” button on the right of the page.
My domain is already off, as seen in the image below.
To get a domain on Shopify, go to settings on your Shopify store admin page. See the image below. This will open up the settings menu page for your store.
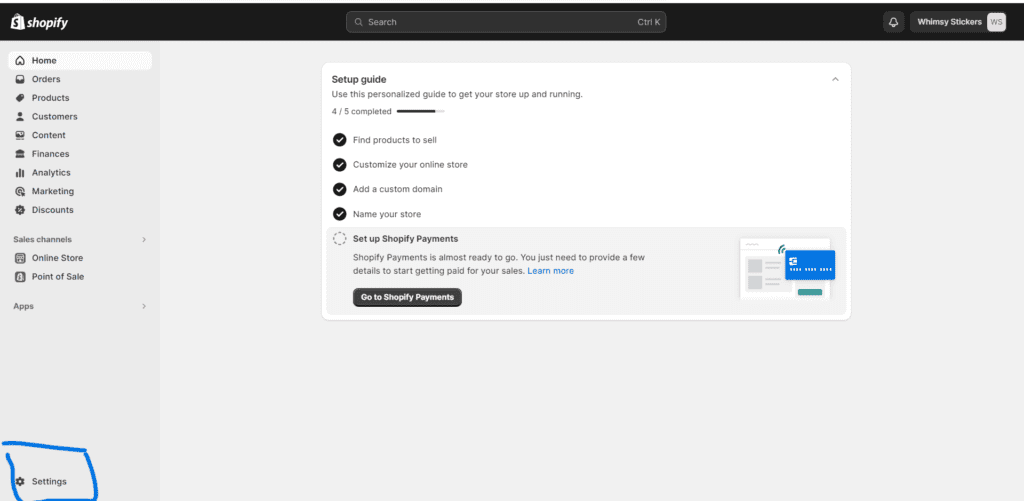
On the Settings menu page, select Domains. Here, you can buy a new domain on Shopify, transfer a domain, or connect an existing one.

Having your domain active may take a few minutes, a couple of hours, or a day. My domain took a few minutes.
More articles to read:
Step 5: Integrate Printify with Shopify
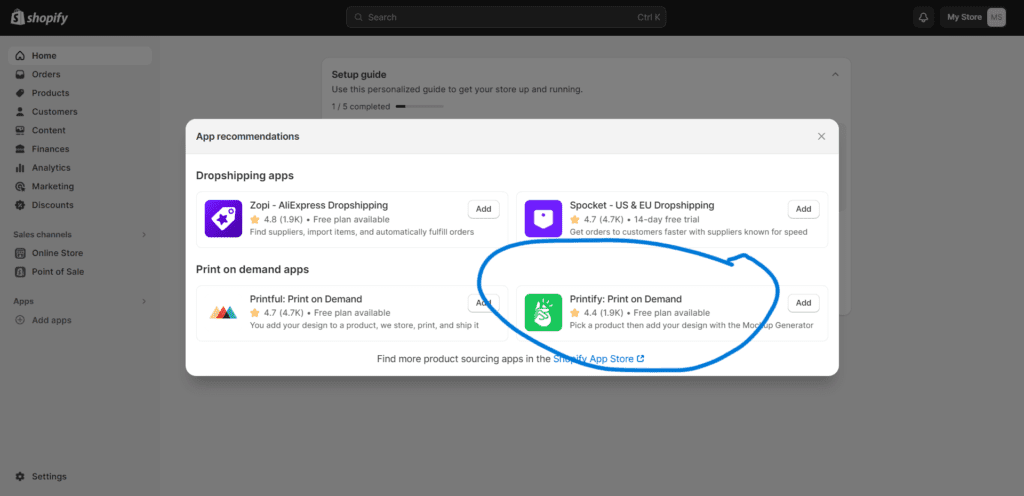
Let’s broaden your product offering by integrating Printify, a print-on-demand service, with your Shopify store. This allows you to sell stickers without the hassle of handling printing and shipping.
Create a Printify Account: Sign up for a Printify account and connect it to your Shopify store. It’s free. It’s easy to integrate Printify with Shopify. On your Shopify Admin page, go to the left-hand menu “Add apps” and find and select Printify.
From apparel to home decor, Printify offers a wide range of options for individuals looking to start their own online store without the hassle of inventory management.
After signing up, you will see this page. See the image below. I already have an account with Printify, so I just log in with my Printify login information.
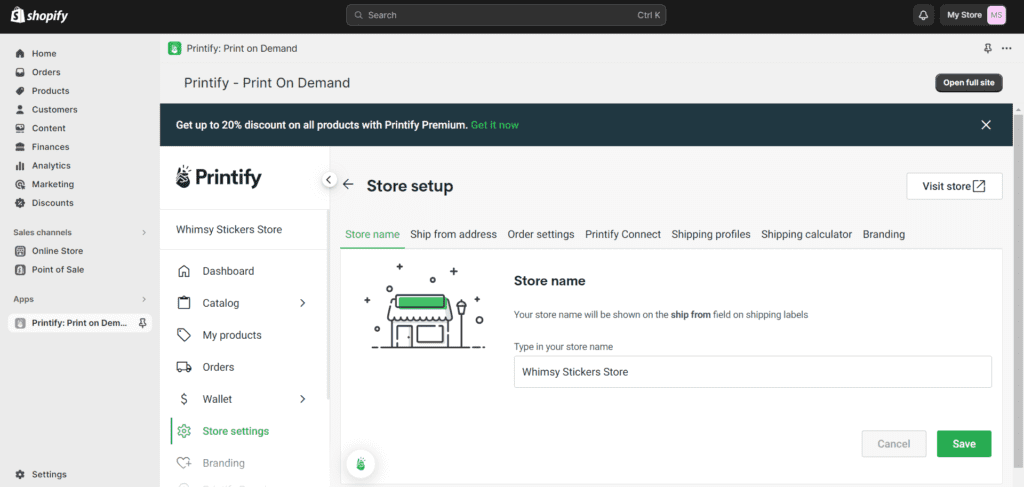
With Printify, you will only pay when a customer makes a purchase. All orders must be paid for first by the sellers before Printify can process and ship the orders to customers.
Go to the Wallet section. Add a payment method such as PayPal or credit card. The payments will cover the order and production costs for each order made by your customer. See the image below.

Choose Sticker Products: Browse through Printify’s catalog to select the type of stickers you want to offer. Printify offers a variety of options, including die-cut and kiss-cut stickers.
I chose Kiss-Cut Stickers on the “Catalog” section page. You can choose whichever product type is best for you. In this case, since we are creating stickers, I decided the bestseller.
Upload Your Designs: Upload the designs you created on Kittl to the selected sticker products on Printify.
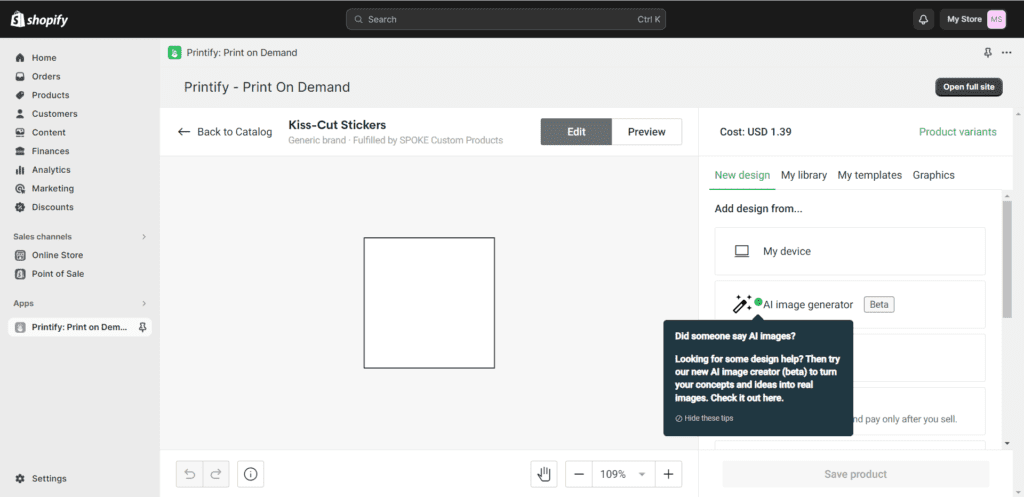
Set Prices and Variations: Determine your pricing strategy and set the variations for each sticker product, such as size and quantity.
Publish to Shopify: Once everything is set up, publish your products to your Shopify store. Your customers can now purchase both physical and printable stickers with ease.
How to Add Your Products to Shopify:
To add your products to Shopify, go to your Shopify Admin page and select, on the left-hand side menu, “Products”, then click on “Add your products” to add your product.
I used Chat GPT to write me a product description. I used two types of prompts. The first was for product description, and the second was for naming the product for SEO purposes.
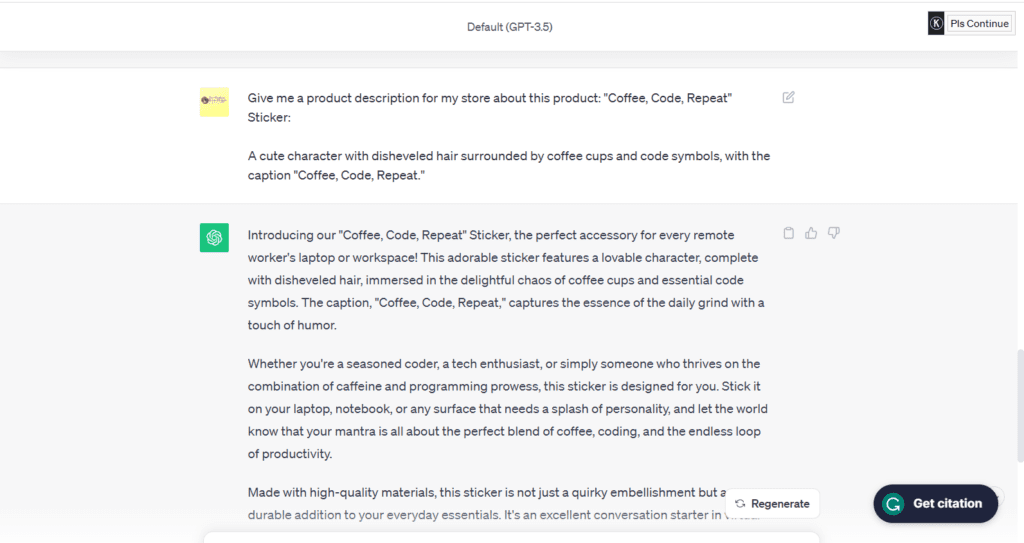
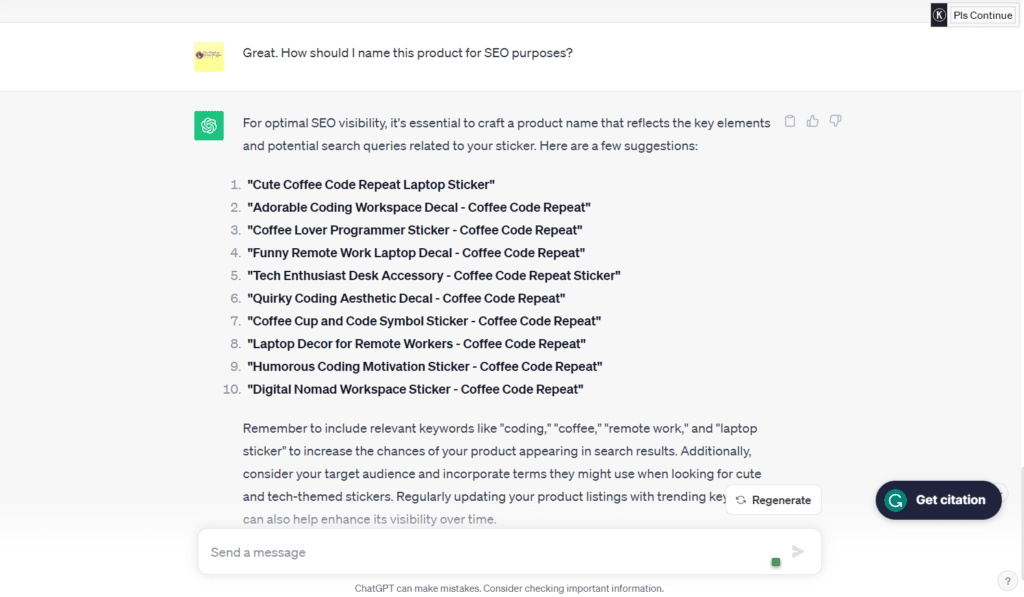
I then copied and pasted it on the product page. Make sure to edit anything that doesn’t resonate with your product.

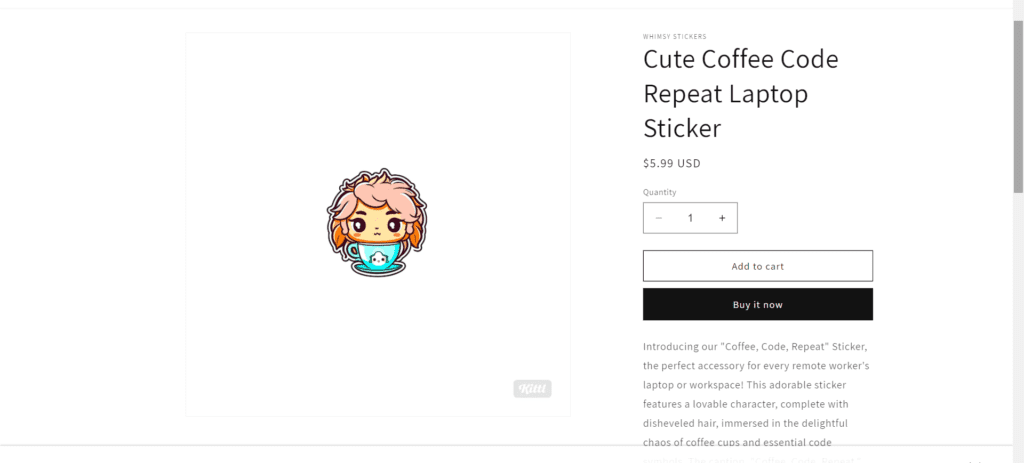
Here are the final product results: This is just for demo purposes.
Step 6: Market Your Stickers
To boost your sales, leverage social media platforms and other marketing channels. Share previews of your designs, run giveaways and collaborate with influencers. Building an online presence is crucial for attracting potential customers.
You can use tools for your social media like Tailwind, Predis AI, Hootsuite, Buffer, or any tools you choose. These tools are excellent for automating your social media posts.
Frequently Asked Questions (FAQ):
Q1: Can I sell both physical and printable stickers on Shopify?
A1: Absolutely! By integrating Printify with your Shopify store, you can offer a variety of sticker types, including physical and printable options.
Q2: How does Printify handle shipping for physical stickers?
A2: Printify takes care of the printing and shipping processes. Shipping costs are calculated based on the destination and product weight. You can choose from the various shipping options available.
Q3: Is there an additional cost to integrate Printify with Shopify?
A3: Integrating Printify with Shopify is free. Printify makes money from the products you sell, and you set your own prices to cover costs and make a profit.
Q4: Can I use the same designs for physical and printable stickers?
A4: Absolutely! Your designs on Kittl can be used for physical and printable stickers. Customize your product offerings to cater to different customer preferences.
Final Thought:
Congratulations on creating and launching your adorable stickers using Kittl and expanding your product range with Printify on Shopify!
Remember to stay engaged with your audience, regularly update your designs, and adapt your marketing strategies.
Don’t miss Shopify’s exclusive $1 deal for the first three months; sign up today and transform your creative passion into a thriving business!





I have no idea how I ended up here, but I thought this post was fantastic. I have no idea who you are, but if you aren’t already, congratulations on becoming a renowned blogger. Cheers!
Thanks so much for your compliment! I truly appreciate it. I am glad you love it.
Great post thank you.
Thanks so much for your feedback. I am glad you like it.